


Signing with your interior designer is an exciting milestone, but for many homeowners, it is also the point where things start to feel a little uncertain. What exactly happens next? When will the noise begin? How long before you can actually move in? These are questions we hear constantly, and they are entirely reasonable ones to ask.
Understanding the renovation process from start to finish helps you stay calm, make decisions with confidence, and avoid the stress that comes from not knowing what to expect. Whether you are planning interior design for a condo, a resale HDB flat, or a brand new BTO, the broad sequence of events follows a similar pattern, though the timeline and specifics will vary depending on the scope of your project and the condition of the property.
Before the hammers come out: The planning phase (week 1–3)

The weeks immediately after you sign your agreement are not quiet ones, they are just quiet for you. Behind the scenes, your designer is finalising drawings, sourcing materials, coordinating with contractors, and (where required) submitting renovation permits.
If your project involves structural changes or works that affect shared building elements, approvals from HDB or your MCST (Management Corporation Strata Title) will need to be in place before anything physical begins. This step is non-negotiable, and skipping it can lead to costly rectification works later on.
It is also during this phase that your designer will firm up your material selections, such as tiles, laminate finishes, carpentry details, sanitary fittings, and so on. Decisions made here directly affect the quality and cost of your renovation, which is why homeowners researching 2026 resale HDB renovation costs will find that material choices can shift budgets considerably even within the same project scope.
Week 4–5: Demolition and hacking
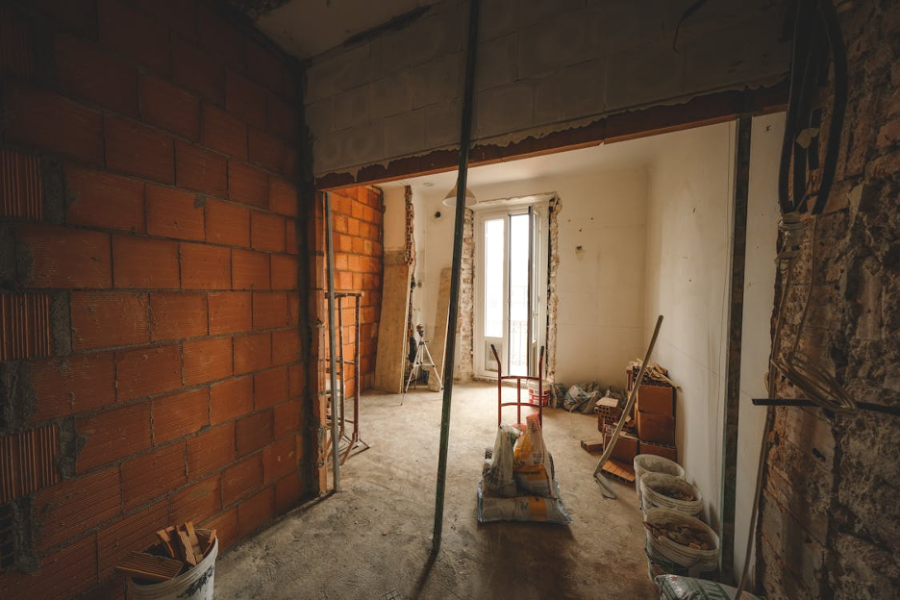
Once permits are in order and your contractor is mobilised, the renovation begins in earnest. Demolition, or “hacking” as it is commonly called in Singapore, is typically the first physical phase of work.
This is when existing tiles are removed, old built-ins are stripped out, and any walls marked for removal come down. It is loud, dusty, and looks considerably worse before it looks better. If you are still living nearby or managing key handover logistics, your designer should keep you informed of the schedule so you can plan accordingly.
At this stage, your designer will also carry out a thorough site check to confirm existing conditions (pipe locations, ceiling heights, electrical points) against the renovation plans. Any discrepancies are flagged and addressed now, rather than mid-project when changes become significantly more disruptive.
Week 6–8: Masonry, plumbing, and electrical works (the wet works phase)
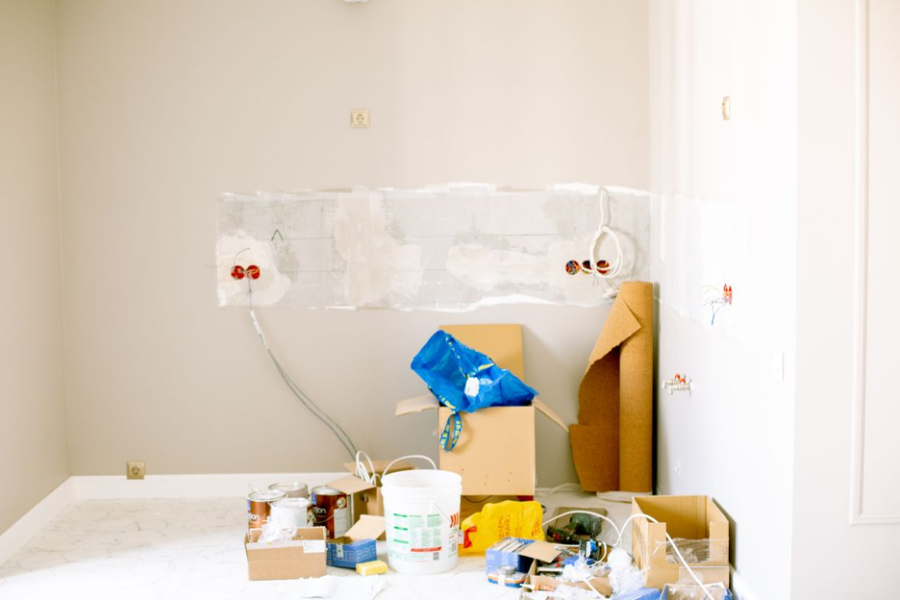
After demolition comes what the industry calls “wet works”: masonry, waterproofing, plumbing, and electrical rough-ins. This phase forms the backbone of your renovation, and it needs to be done properly because most of it will be hidden once walls are plastered and tiles are laid.
Key activities during this phase include:
- Waterproofing – bathrooms and wet areas, which must be completed and tested before tiling begins.
- Re-routing of plumbing – if your layout involves moving bathroom or kitchen fixtures.
- Electrical first fix – laying conduits, wiring, and setting up distribution boards to support your new lighting and power layout.
- Masonry works – building new walls, creating niches, or laying the groundwork for feature elements.
Waterproofing works, in particular, must comply with specific standards to prevent water seepage, a common source of neighbour disputes in high-density housing. A good renovation firm will not cut corners here.
Week 9–11: Carpentry, tiling, and finishing works
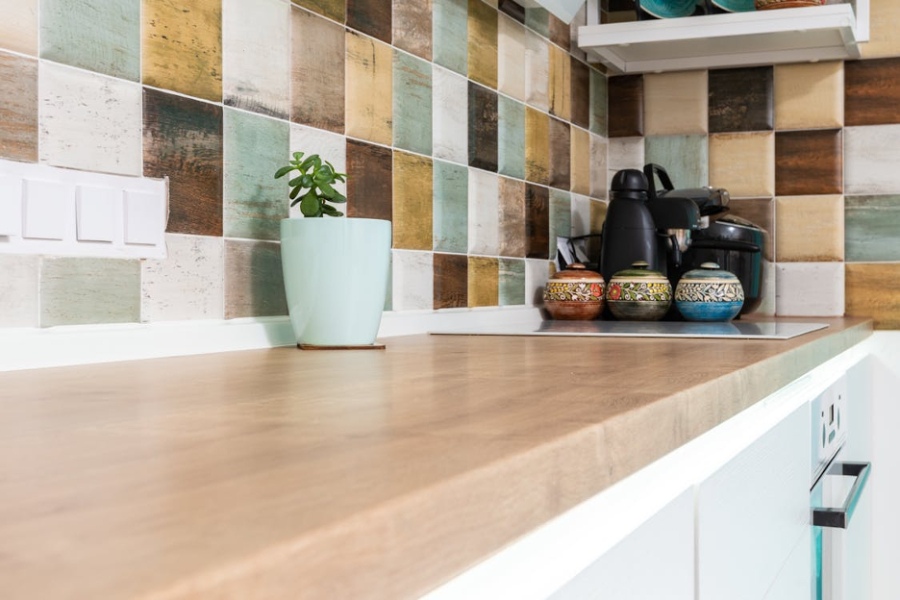
With the structural and wet works done, the pace of visual progress picks up considerably. This is the phase most homeowners find most satisfying because, for the first time, the space starts to look like the renders you approved weeks ago.
Carpentry fabrication and installation are typically the most time-consuming elements of this phase. Your wardrobes, kitchen cabinets, feature walls, TV consoles, and built-in storage are all measured, fabricated (usually off-site), and then installed on-site. Tiling of floors and bathroom walls happens in parallel, along with plastering and painting.
It is also during this window that your electrician returns for the second fix: installing light fittings, switches, socket outlets, and air-conditioning points. If your project involves any smart home features, this is when those systems are integrated into the build.
Week 12–13: Final installations and snagging
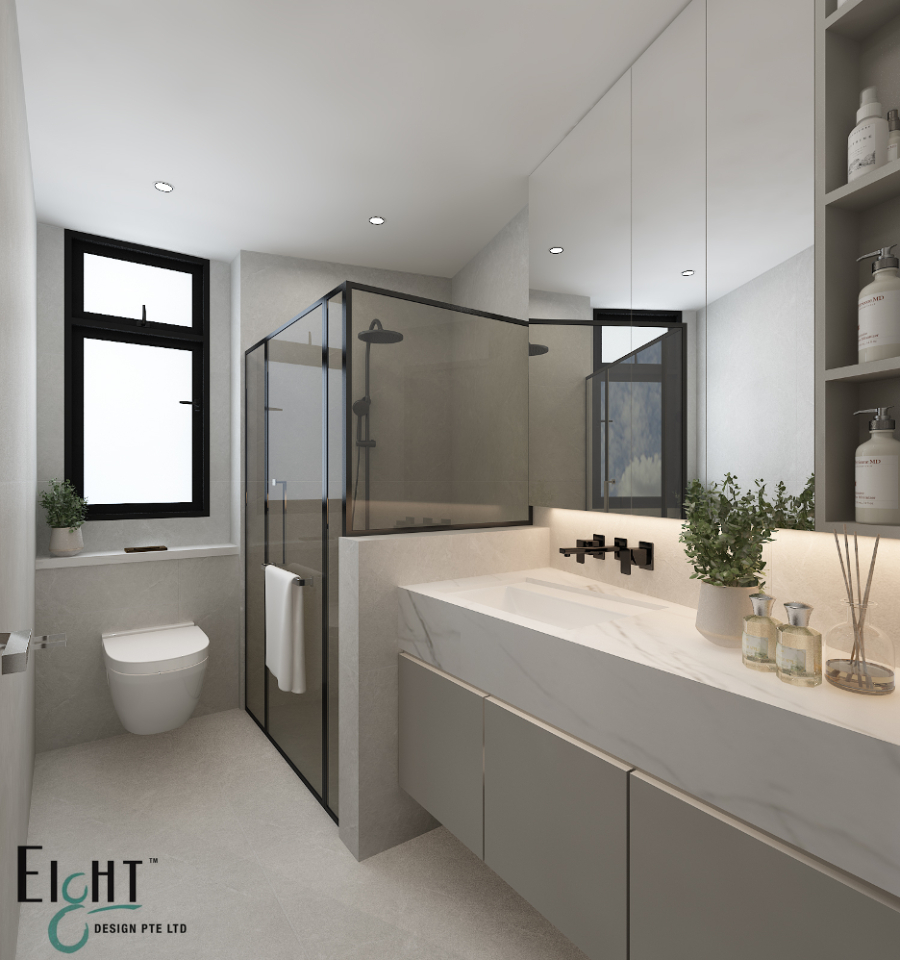
The final stretch of a renovation involves installing the finishing touches, like bathroom accessories, door hardware, kitchen appliances, mirrors, and any loose furniture that forms part of your ID package. It is also when your designer carries out a full snagging inspection.
Snagging is the process of identifying and rectifying defects before handover. A thorough snagging list might include:
- Paint touch-ups and uneven finishes
- Gaps or misalignments in carpentry
- Tiles with hollow spots or lippage
- Electrical points or fixtures that are not functioning correctly
- Silicone sealing around wet areas
Do not be alarmed if your snagging list is long, this is normal and is precisely what the process is designed to catch. A professional renovation firm will work through every item systematically before signing off.
Week 14 and beyond: Handover and defects liability period

Once snagging is complete and you are satisfied with the outcome, your renovation firm will carry out a formal handover. You will receive documentation relating to your renovation, such as warranties, as-built drawings where applicable, and any maintenance guidance for specific finishes or systems.
Most reputable firms in Singapore offer a defects liability period following handover, typically ranging from six months to a year. During this period, any defects that emerge through normal use (not damage caused by the homeowner) should be rectified at no additional cost. This is a standard consumer protection that is also reinforced for firms operating under CaseTrust accreditation.
Your renovation, with no guesswork
A renovation timeline is never entirely rigid. Unexpected site conditions, material lead times, or permit delays can shift things. But working with an experienced team means these variables are managed proactively, with clear communication every step of the way.
At Eight Design, we keep our clients informed throughout the entire process, so you always know where your project stands and what comes next. If you are planning a renovation and want a team that brings both design expertise and project clarity to the table, we would love to hear from you.
Request a consult with Eight Design today, and let us walk you through what your renovation journey could look like.